The first sensor change is one of those small milestones that hits harder than you expect. By the time you're staring at the applicator on the kitchen table, you've already been through diagnosis, the hospital stay, the carb counting, the late-night Googling. And now you have to do this. To your child. By yourself.
It gets easier. We promise. Here's what we wish someone had told us before the first one.
Before you start
Pick your moment
Don't do it five minutes before nursery pickup, or right before a bath, or when your child is already overtired. The first change should happen on a relaxed afternoon when nobody is watching the clock. If you can, do it on a Saturday morning when the other parent is around to help distract.
Get everything ready first
Lay out the new sensor, the applicator, the alcohol wipe, a tissue, your overlay patch and a small reward. Open packets in advance. Fumbling with a wrapper while your child is bracing themselves is the bit that drags it out.
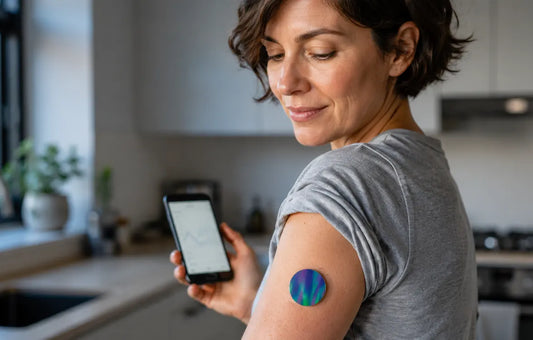
Decide where the sensor is going
Upper arm is the most common spot for kids. The back of the arm has fewer nerve endings and gets knocked less than the front. Some families rotate between left and right arms each change. If your child is old enough, let them choose the side — small wins matter.
The change itself
The honest moment
Tell your child what's going to happen. "Quick scratch, count to three, all done" works better than pretending it's nothing. Kids feel betrayal more than pain — if you said it wouldn't hurt and it does, the next change is harder.
What to say while you do it
Pick a phrase and stick with it. "One, two, three, push" or "Big breath in, sensor on, big breath out". The rhythm matters more than the words. You're giving their brain something to track that isn't the sensation.
Straight to the patch
Apply the overlay patch within a minute of the sensor going on. Press it down firmly for 30 seconds while you chat about something else entirely. By the time you're done, the worst bit is already behind you.
The bit nobody warns you about
You might cry afterwards. Not in front of them — in the kitchen, ten minutes later, when they've run off to play. That's normal. You've just done something hard, and you did it well, and your body needs to let go of the tension somewhere. Have the cry. Then put the kettle on.
If you want to read more from another parent who has been exactly where you are, "What it's like to be a parent of a child with type 1" is honest about all of this.
Choosing the patch
For the first few sensor changes, let your child pick the design. It's the one bit of the whole process that's theirs to control, and it makes a real difference. Our kids patches collection is built around the designs we see chosen most often by under-10s — animals, dinosaurs, food, rainbows, superheroes.
If they're a bit older and into something specific, you'll probably find it in:
Looking ahead
By the fifth or sixth sensor change, you'll be doing it one-handed while answering an email. The first one feels enormous because it is enormous — you're learning a routine that will shape years of your family life. Be kind to yourself in the meantime.
If your child has just been diagnosed, our guide for newly diagnosed type 1 children covers the first weeks more broadly. And our story explains how SmileSensors started — at a kitchen table in Manchester, by a mum who was learning all of this for the first time too.
When back-to-school comes around and you're thinking about how the sensor will hold up through five days of PE, playground and uniform, our guide Best CGM Patches for Kids Starting School with Type 1 Diabetes covers what actually works.
You're doing brilliantly.